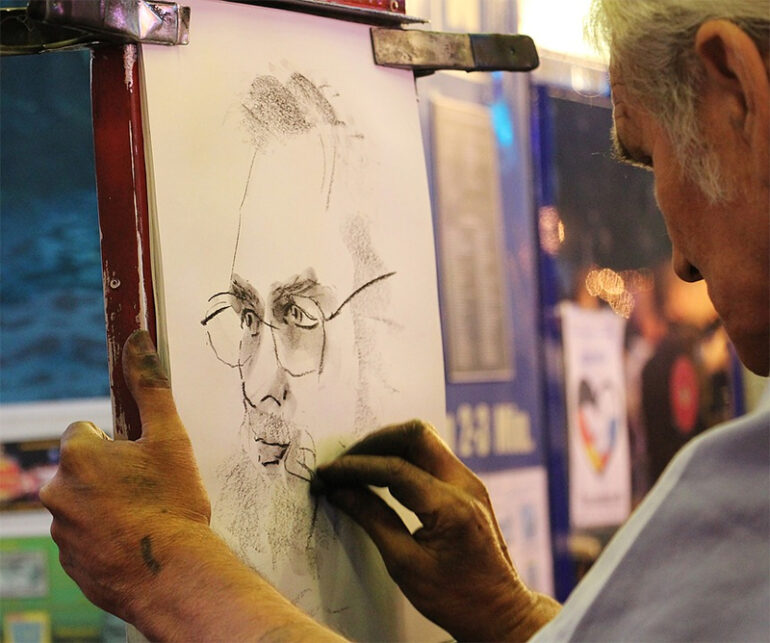
One of the most challenging commissions for an artist is to capture the essence of your model into a portrait. The process is quite intricate, and you want to be as accurate as possible in rendering even the specks in their eyes. As an artist, you want to provide your client with the best output, so you know that your hand must be as steady for the duration of the session. Sometimes, it doesn’t take one sitting to finish a portrait as the artist may succumb to fatigue and must recapture their momentum.
Any decent artist can make a portrait, but it does take a lot of skill and technique to make it as realistic as possible. Here are a few methods that we can provide budding artists who wish to master creating first-rate portraits.
Decide on the composition
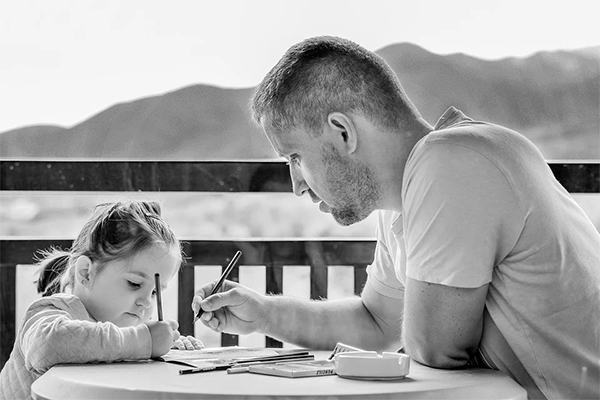
As an artist, you know that angles play an essential role in the composition of the portrait. You’ll have to ask your model to provide you with an angle they’re comfortable with posing for a long time if you’re doing a live model portraiture. Or you can also capture several shots if you’ll work with their photos as your inspiration.
Paper quality is key
Paper quality is one of the things you’ll have to consider in creating portraits. You’ll have to consider whether the paper has a raised or smooth surface. The pencil strokes will vary depending on the type of paper surface and quality.
Look for the line of symmetry and render it
One of the most critical parts of your portrait is your line of symmetry. Identify it correctly, so you won’t have to re-do the outlines over and over.
Analyze the facial features and proportions
You’ll have to take a long look at your subject’s facial features and overall proportions and note them accordingly. You’ll use them as your reference points when rendering the portrait. Mark the position of the eyes, nose, ears, and mouth correctly. You don’t want to make any mistakes with these features as they will tremendously affect your output quality.
Use a grid
A grid will be a terrific help and guide for your portrait. You can translate the features faster when you have a grid on the paper. It’ll help you understand the proportions better, too. Remember that the grids should correspond on the portrait paper and the photo if you’re using one.
Render the features
Your next step is to render the portrait properly. Connect the marked features lightly before you commit to the full action. Once you’re satisfied with how the composed portrait looks, you can then begin to fine-tune the features using different shading and rendering techniques. Apply the right amount of pressure on your pencil or charcoal to achieve the right consistency and shading weight. Don’t forget to consider your lighting angle to make it more realistic.
Apply finishing touches
Apply the finishing touches on your portrait. Brush up on minor features and remove other noticeable markings that will mar the finished product.
Takeaways
Artists know that it takes a lot of time to master specific artforms. Portraiture is such an example. The techniques are varied, but each artist can still personalize their work to suit their style.
Photo Attribution:
1st and featured mage from https://pixabay.com/photos/charcoal-drawing-charcoal-pencil-1558900/
2nd image from https://pixabay.com/photos/girl-father-portrait-family-1641215/

